

Discreet panic button for fast emergency response.


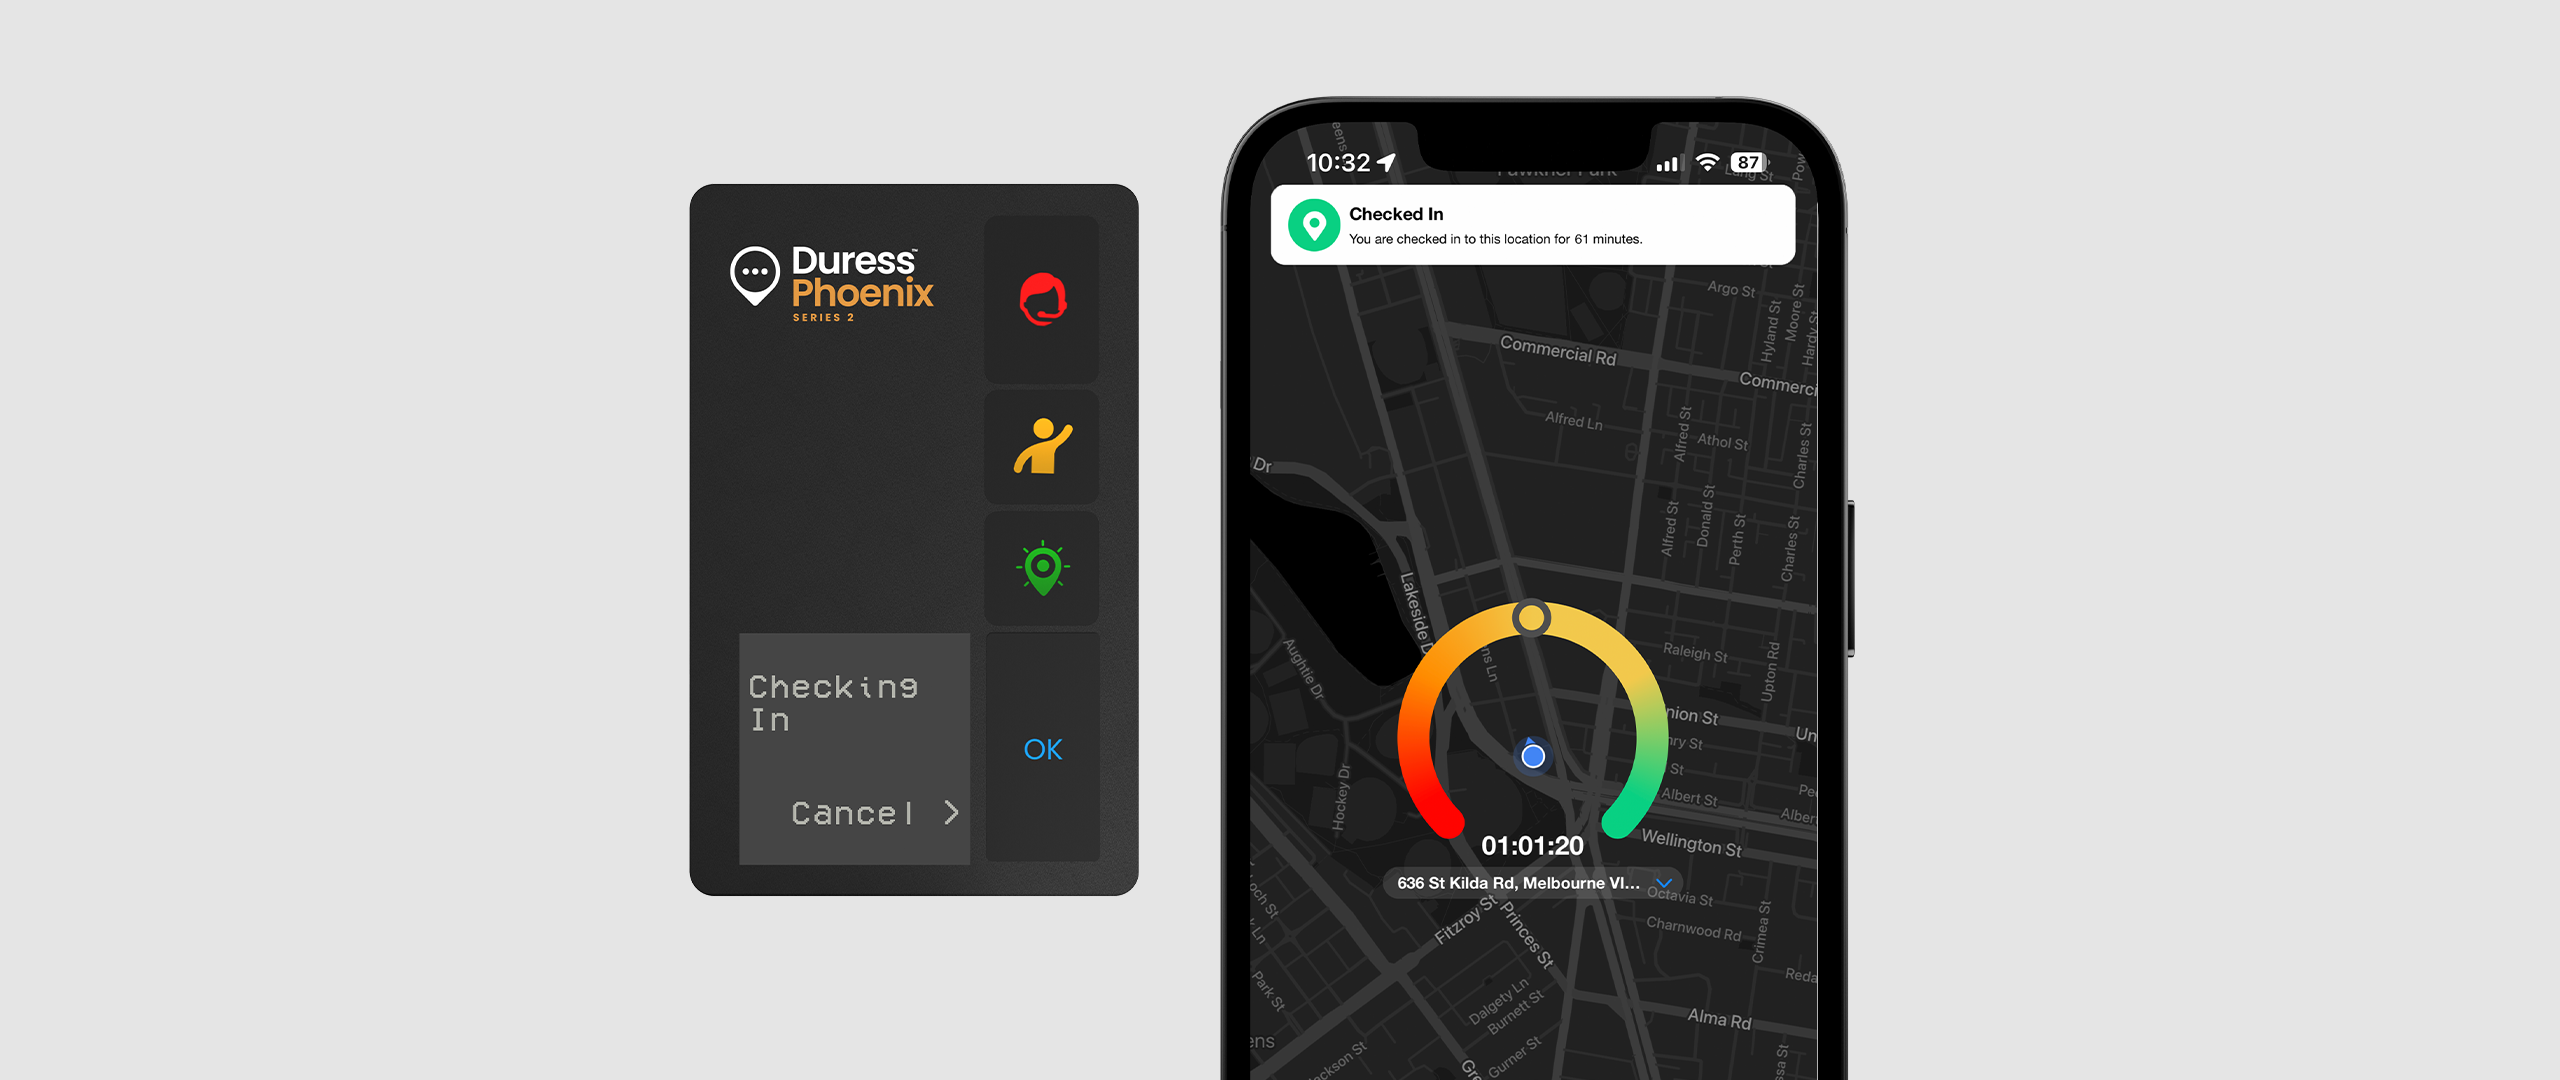


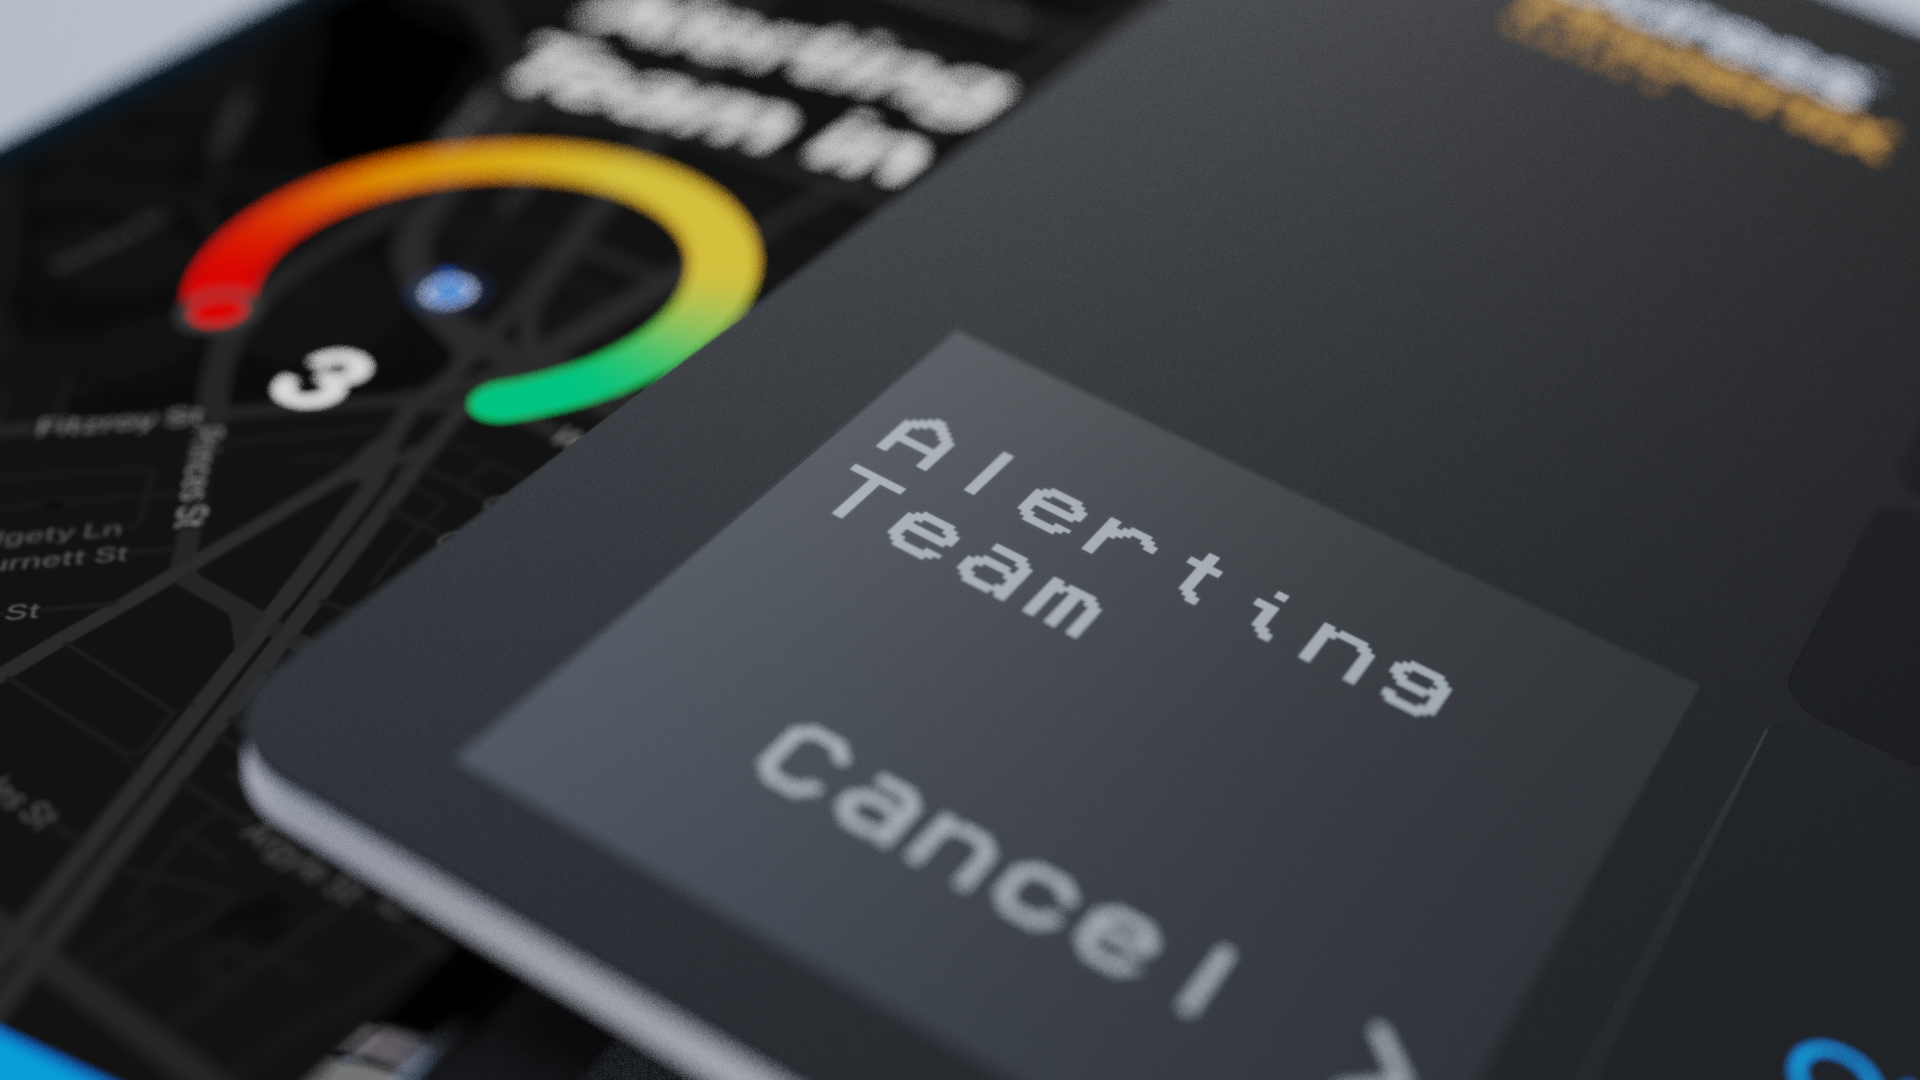
The Duress App and Duress Phoenix work seamlessly together for discreet, hands-free safety. In high-risk situations, Duress Phoenix lets you trigger alerts, check-in, set timers, and call for help—all with a simple click, keeping you protected without reaching for your phone.


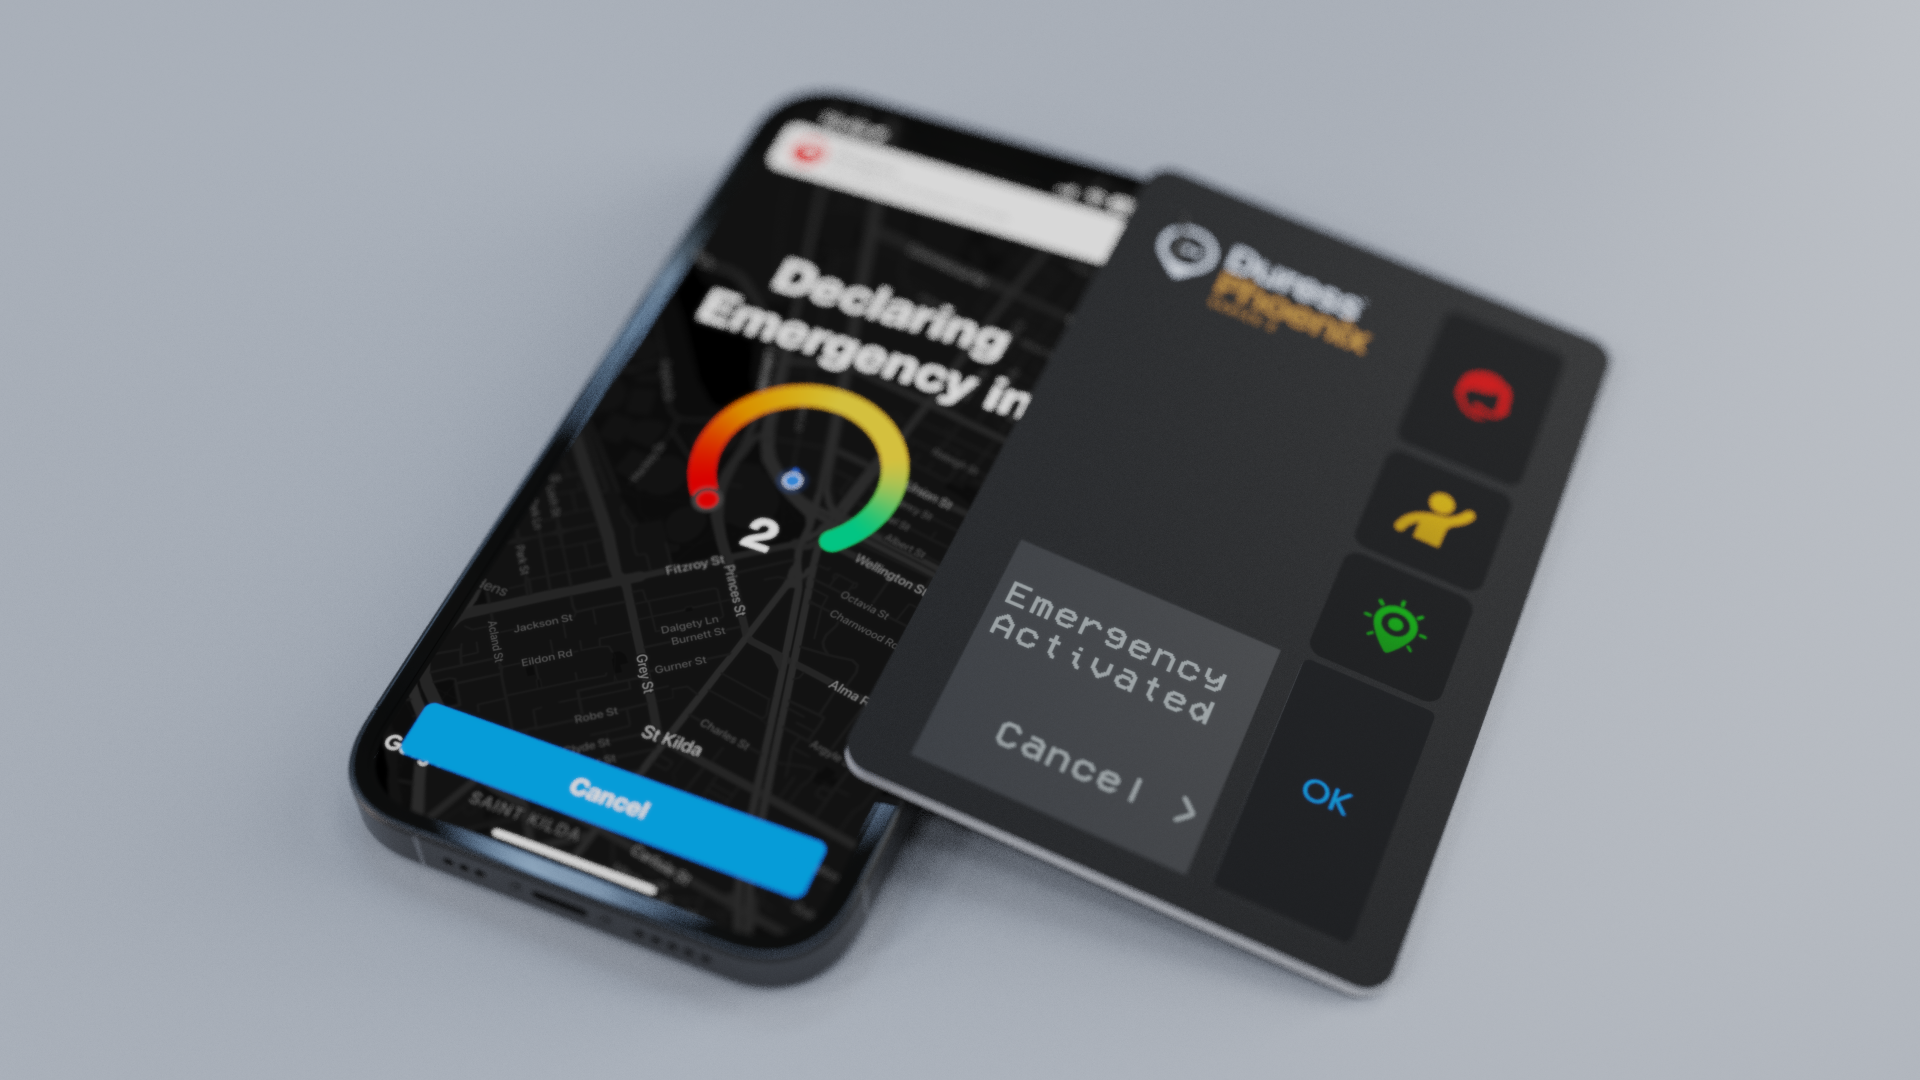
Explore the Duress Phoenix up close with the 3D viewer.


Our values lead the way. Duress Phoenix was designed to protect you and your team's privacy, keep you in control of your data, and to keep your data secure. Privacy and Safety is the cornerstone of everything we do.
Privacy is built into everything we do. Nobody, including your administrators and managers, even Duress, can see your location unless you activate an alert.
Your device streams live video, audio and location to our 24/7 Operations Centre and Emergency Services, only during an emergency so they can assist.
All data is stored here in Australia, and is encrypted in transit and at rest. Your data never leaves the country, and is accessible only by your nominated admins.
Duress is ISO27001 certified, and all staff have completed extensive background and Police checks.

Ready to take your safety to the next level?
Talk to one of our specialists today.
No, Duress streams your location only once an emergency has been declared. While an emergency is active, your location updates every 5 seconds. When you request assistance either via a Team Alert or Emergency, your device will ping your location to your nominated contacts.
No, administrators within your organisation cannot see your location unless you have activated an emergency or team alert.
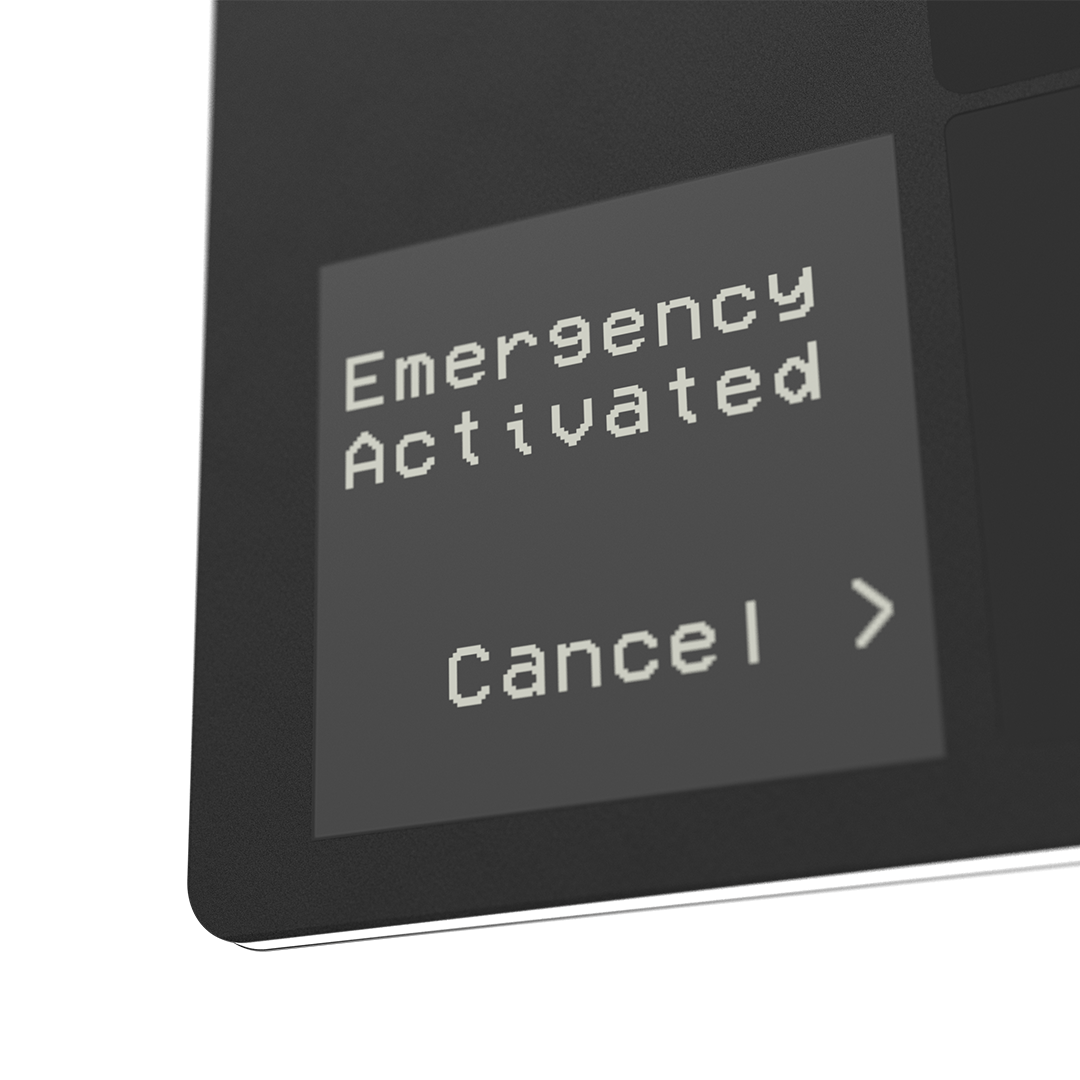
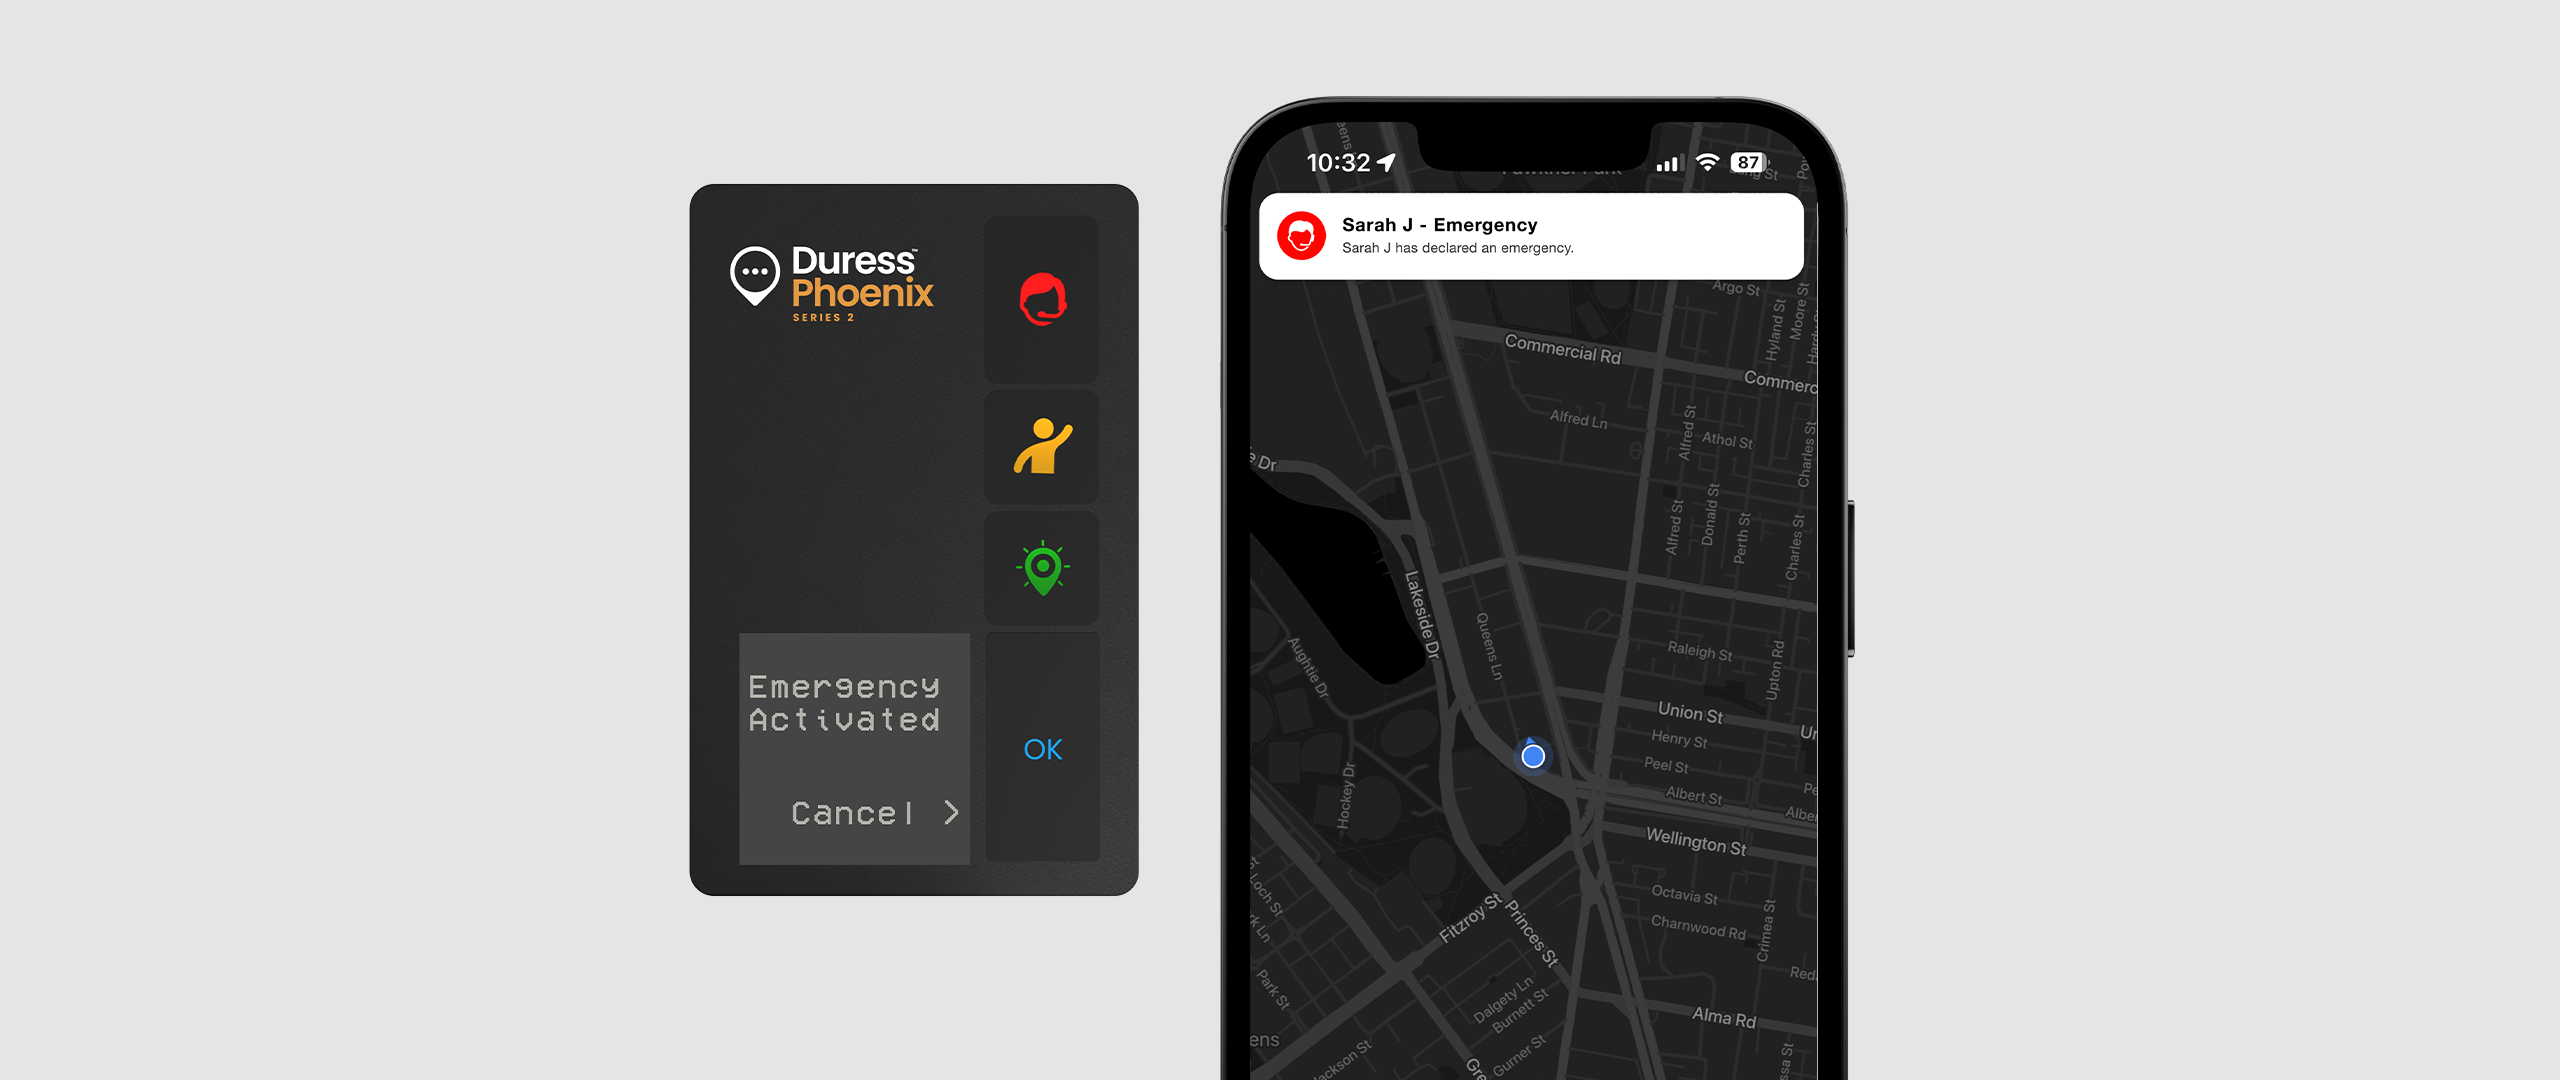
To declare an emergency, click the Emergency Button (red button on the side), which can urgently request police assistance. All Duress Eagles in your team will be notified that an emergency has been activated. Live video, audio, and location data will be sent to our 24/7 A1 Graded Monitoring Centre, where the emergency will be verified and triaged.
Yes, to cancel an alert you can tap the blue button on your screen that says 'Cancel'. To ensure you are ok, the operations centre will also give you a call before closing the monitoring.
Yes, admin users will get access to Pathfinder, the Duress dashboard where all users, alerts and settings can be managed.
Every organisation will receive complementary onboarding training, but you can also access information at any time by visiting knowledge.duress.com or by contacting our local support team.
